What?
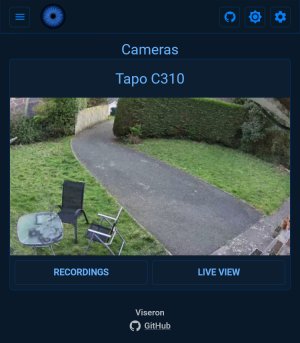
A TP-link Tapo C310 security camera streaming audio/video to the FOSS Viseron NVR software running on an Odroid-C2 single board computer/home server.
Why?
Because I couldn't resist the temptation of a technical challenge, despite my dislike of surveillance in general (sorry principles!).

How?
Tapo C310
The Tapo C310 makes a couple of authenticated RTSP streams available at rtsp://camera.local.ip.address:554:
/stream1: a high res stream (1920x1080 or 2304x1296 depending on how you set it up)/stream2: a low res stream (640x360)
These streams are a bit quirky; they're fixed at 15 fps, and use the pcm_alaw audio and h264 video codecs. This audio codec choice is a pain, as it means you have to re-encode if you want to put it in .mp4 containers rather than .mkv containers, which aren't as well supported (I'm looking at you, Firefox!).
Still, this is enough for us to plug into a Network Video Recorder (NVR) program which can pull the feed, process it, and save it.
Viseron
Viseron is a fairly straightforward open source NVR program that should be just the job. I like it because it's modular, written in python, and quite efficient. This means that you don't have to play with all the bells and whilstles of AI object detection or graphics cards if you don't want to. It'll manage all the boring stuff, like deleting old video files, making the setup fairl simple.
Even better, it's shipped in Docker containers so it's super easy to spin it up and get it going without worrying about dependencies, daemons, or other faff like that! So we spin up a container
docker run \
   -v /mnt/nvr/segments:/segments \
   -v /mnt/nvr/recordings:/recordings \
   -v /mnt/nvr:/config \
   -v /etc/localtime:/etc/localtime:ro \
   -p 8888:8888 \
   --restart unless-stopped \
   --detach \
   --name viseron \
   roflcoopter/viseron:latest
Note that we're binding some directories on our filesystem as volumes in the container. This allows the recordings and config files to be stored on an external HDD plugged into the server, rather than doing all that writing on fragile flash memory (which is a great way to kill your micro-SD card/eMMC!). We're also port forwarding on 8888 to allow us to view the admin interface on the local network. And finally we're using the detach and restart flags to keep the process alive in the background.
What about setting up Viseron itself? Well the documentation for configuring Viseron is pretty good, and as we're only using the basic ffmpeg camera and background_subtractor motion detection components the setup is quite simple:
## Cameras
ffmpeg:
  camera:
    hillview_front:

      ### Recording stream
      name: Tapo C310
      host: cameras.local.ip.address
      port: 554
      path: /stream1/
      username: username_set_in_tapo_app
      password: password_set_in_tapo_app

      audio_codec: aac
      codec: h264
      fps: 15
      width: 2304
      height: 1296

      ### Low-res stream
      substream:
        path: /stream2/
        port: 554

        audio_codec: aac
        codec: h264
        fps: 15
        width: 640
        height: 360

      recorder:
        lookback: 20
        extension: mp4

## Motion detectors
background_subtractor:
  motion_detector:
    cameras:

      hillview_front:
        width: 320
        height: 180

        trigger_recorder: true
        fps: 1
        area: 0.01
        threshold: 15
        alpha: 0.1

## NVR
nvr:
  hillview_front:
First we tell the ffmpeg component how to connect to the camera. Since we've got access to high and low res streams we use them both so that the high-res stream is used when saving recordings but the low-res stream can be used for out motion detection (saving us valuable processing power!).
Next we specify the exact encoding parameters for each stream. We have to do this because we want to save our files in .mp4 containers so they can be viewed using the web interface on Firefox, which means ffmpeg needs to re-encode the streams. We also tell the recorder to save the 10 seconds prior to any event as well as the event itself.
We set up the motion detector to trigger the camera recorder when it detects motion, and tweak the default parameters to ensure we catch the motion we want but ignore random noise. This is well documented except for the alpha property, which is poorly described. It's best to think of this as how sensitive the motion detector is to fleeting glimpses - a low alpha makes the motion detector sensitive to fleeting glimpses, whilst a high alpha allows the motion detector to ignore these.
The Results
The system works great!


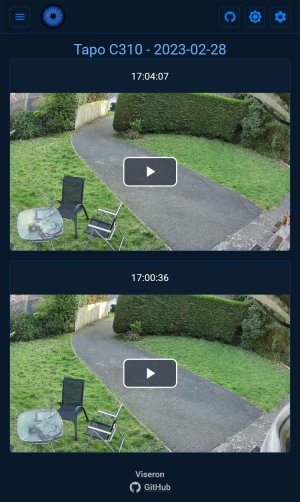
Motion triggers recordings which I can view (with sound) from the web interface. If I'm away from home then I can check in on the Tapo app to get a live feed, knowing that the recordings are safe inside the house so even if the camera is damaged they'll still be stored. The docker container will even recover itself in the event of a power cut!
I don't think I'll ever need it (although the dash-cam I installed in my car with the same discomfort about surveillance has been proven worthwhile!), but it was fun to set up.